How to decoupage wood tutorial - Flea market flip ideas
I have millions of upcycling ideas. They seem to sparkle in my head, when I see things on flea markets and other places. Decoupage paper on wood is one of the best techniques one may use for upcycling and restoring old things, giving them a new life. There are many décor styles you may use and one of them is my beloved shabby chic.Here are few samples of my work in this style and today we will learn how to decoupage an item using step by step decoupage techniques:
 |
| shabby chic decoupage on wood, box and bottle decoupage |
Shabby chic main attributes:
This style uses three main colors: white, pink and gold. You may add some other light shades of color, such as green and blue.All things you make should look shabby, as if they are old and a bit worn out.
So, you may crack the paint on them using crackle or use other tricks to make them shabby.
This is a collection of my shabby chic upcycled and decoupaged things: bottles turned into vases or candle sticks and the box.
 | |
| Shabby chic glass bottle vase, upcycling decoupage project |
 |
| shabby chic upcycled bottle into a cancle holder |
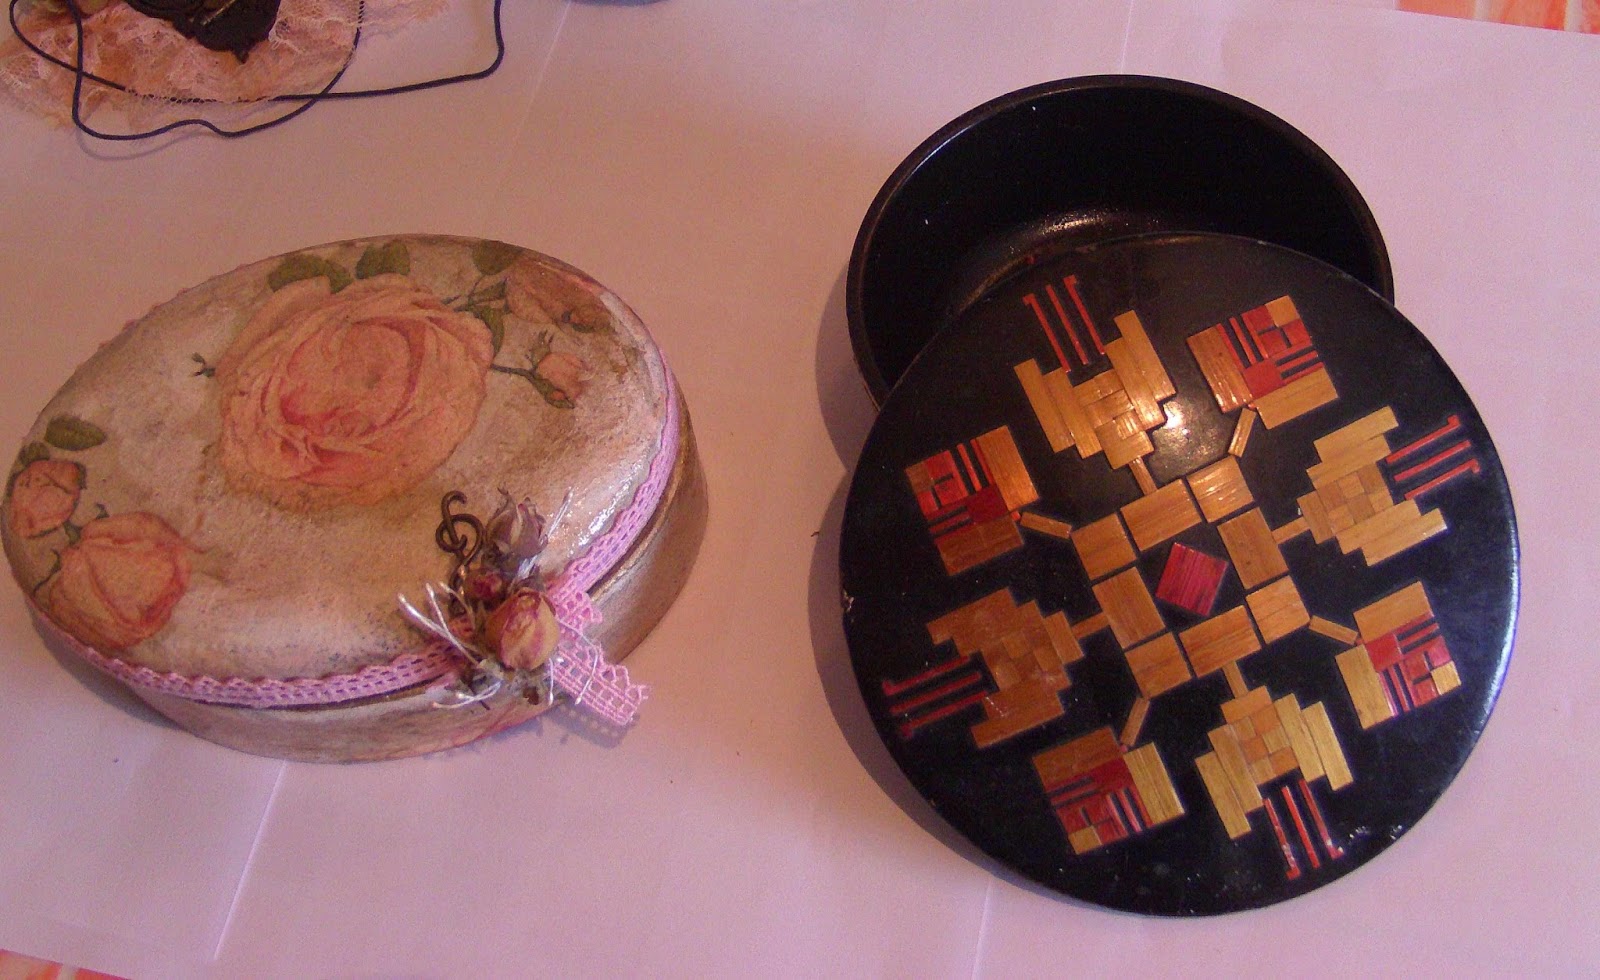 |
| recycling project: old box into a new one with decoupage |
How to decoupage on wood in 7 steps:
- Clean the surface well
- Use sandpaper to even out
- Paint it over
- Apply the napkin
If the dints are deep and you don’t like them there, then use some putty to make a smooth surface.
Let it completely dry up before you go on with the recycling art project.
 |
| decoupage how to |
So, I had to put several layers of white paint to make it look nice. In any case, use at least two layers of paint for your craft project. The first one may be a thin layer used as a foundation.
No problem if the under layer of old paint can be seen through it. Let it dry up and then make another thicker layer.
 You should use only the top thin layer of it. Carefully separate the layers and cut out the part of the pattern you want to use for decoupage. Now, how to use modge podge on wood?
 First of all, you need to pick your glue. You may use modge podge glue, or some other glue.
Personally I glue the napkin using the varnish. I find it so much easier this way. I use transparent acryl varnish for wood.
- Here is what I do:
- Add gold
- Put several layers of varnish
- Decorate
This is what I love the most. In this case I used some pink lace, real dried up rosebuds and metal chiave di violino.
Final decoupage how to on wood shabby chic box
I used got glue gun to attach all those décor items on the wooden shabby chic box.
- Apply a thin layer on the wood surface;
- Place the napkin on it;
- Use brush with more varnish to glue it down;
- Let it completely dry up.
You have just few seconds to even up and glue the napkin piece, because once it gets too wet, it starts to tear. So, if you do not have much experience, please, use smaller bits of pattern.

It did take me several years to get good at it, but I have developed my creativity along the way and enjoyed every movement of crafting.
Grab and share the decoupage box pictures from this post on Pinterest and other social networks. Come back for more recycled craft ideas for adults!